
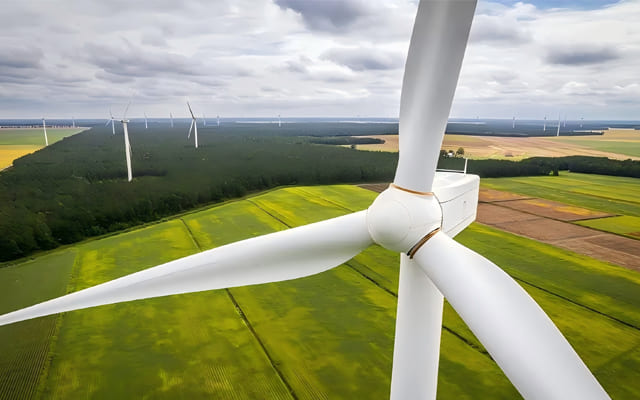
Wind turbine blades are essential for converting wind energy into electricity. However, their constant exposure to harsh conditions—like rain, hail, debris, and extreme temperatures—makes them prone to various forms of damage. A proactive wind turbine blade repair strategy is crucial to maintain turbine efficiency, reduce downtime, and extend equipment lifespan.
1. Leading Edge Erosion
The blade’s leading edge faces continuous wear from high-speed particles, rain, and UV exposure. This type of erosion reduces aerodynamic efficiency and increases drag, ultimately lowering turbine performance. Prompt repair can restore lost efficiency and prevent further material degradation.
2. Delamination
Delamination occurs when internal composite layers separate due to moisture ingress, impact, or manufacturing flaws. If detected early through routine inspections, wind turbine blade repair can address delamination using resin injection or composite bonding techniques before the damage becomes critical.
3. Cracks and Fractures
Cracks may develop from material fatigue, lightning strikes, or vibration stresses. Even small fractures can spread rapidly. Professional repair involves detecting these issues early using non-destructive testing and sealing or reinforcing the affected area to restore structural integrity.
4. Surface Corrosion
Blades operating in coastal or high-humidity environments are vulnerable to corrosion, especially when protective coatings fail. Through precise wind turbine blade repair, technicians can clean the corroded areas, apply anti-corrosion treatments, and reseal the surface to extend the blade’s operational life.
5. Impact Damage
Foreign objects like birds, ice, or debris can cause localized damage. While seemingly minor, these impacts can lead to hidden internal defects. Immediate repair helps mitigate risks and ensures long-term turbine performance.
The Wind Turbine Blade Repair Process
A structured and professional approach to blade maintenance is vital for operational safety and energy yield. Here’s how a complete wind turbine blade repair workflow typically unfolds:
1. Inspection
Technicians use drones, rope access, or ground-based tools for visual inspection. Advanced non-destructive testing (NDT) methods such as ultrasonic, infrared thermography, and eddy current testing help detect hidden damage early.
2. Surface Preparation
Before any repair, the damaged area must be cleaned and abraded. Removing debris and deteriorated material ensures proper adhesion of repair compounds and coatings.
3. Damage Repair
Depending on the fault, repair techniques include:
-
Leading edge protection installation
-
Resin injection for cracks
-
Fiberglass lamination or core replacement for delamination
All tailored to the extent and type of damage.
4. Material Selection
Successful wind turbine blade repair relies on high-quality, weather-resistant resins, adhesives, and composite fabrics. Using trusted materials ensures mechanical performance and resistance to UV and moisture exposure.
5. Quality Control
Each repair undergoes strict quality verification:
-
Structural testing
-
Seal integrity checks
-
Documentation for traceability
A well-documented wind turbine blade repair also helps with warranty claims and long-term asset management.
6. Blade Replacement (if needed)
In cases where damage is beyond repair, replacing the entire blade is the most effective option. Though more expensive, it avoids operational hazards and ensures compliance with safety regulations.
Efficient and proactive repair is essential for any wind farm operation. By understanding common failure modes and implementing timely repair strategies, operators can reduce costs, prevent unexpected shutdowns, and maximize power output.